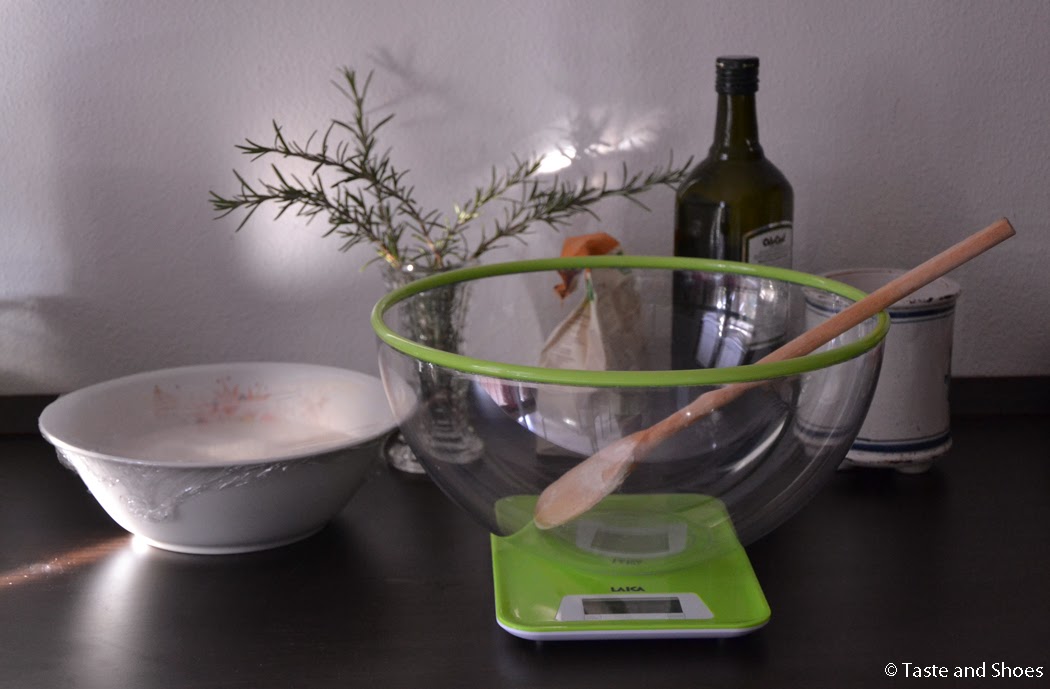
I love playing with my sourdough in the kitchen!
This is one of my latest experimentations: rosemary crackers. They are perfect for a snack, a cocktail party or a dinner, in fact you'll get a very stylish detail to set the table.
The original recipe is from a sourdough recipe book (here's the link), and here it is my version!
Adoro giocare in cucina con il mio lievito naturale!
Questo è uno dei miei ultimi esperimenti: dei cracker al rosmarino. Ottimi come spuntino, da servire per un aperitivo o in una cena per non lasciare solo per un dettaglio stilosissimo da presentare in tavola.
La ricetta è presa da un libro di ricette con il lievito naturale (potete trovarlo qui), ma come sempre l'ho personalizzata secondo mio gusto. Eccola!
- 150gr of already refreshed sourdough
- 300gr of wholewheat flour
- 200ml of warm water
- 3 tablespoons of extra virgin olive oil
- 2 rosemary sprigs
- salt (optional)
Ingredienti.
- 150gr di lievito naturale rinfrescato
- 300gr di farina semintegrale (o un mix di farine a scelta)
- 200 ml acqua tiepida
- 3 cucchiai d'olio extra vergine d'oliva
- 2 rametti di rosmarino
- sale fino (opzionale)
Preparation.
Melt the sourdough into warm water and let it rest for a while. Meanwhile wash and mince finely rosemary, combine it with olive oil. Combine this mixture with the sourdough, flour and salt. Knead the dough for about 10 minutes and add more flour or water if necessary, you are looking for a smooth and elastic consistency.
Cover your dough with plastic wrap and let it rise for about 3 hours or until its volume doubles.
Roll the dough out very thin and cut in 3 centimeters/1 inch long little squares.
Dust the crackers with salt and place them on a olive-oil greased tray. Bake them for about 8-10 minutes in static oven at 200'C (about 390'F). In the end use grill if necessary.
Procedimento.
Sciogliere il lievito nell'acqua e lasciare riposare. Nel frattempo lavare e tritare finemente le foglie di rosmarino, unirle all'olio. Unire questa miscela al lievito, farina e sale. Impastare circa 10 minuti e aggiustare con acqua o farina per ottenere una consistenza piuttosto soda ed elastica.
Coprire con pellicola e lasciare lievitare per almeno 3 ore o fino al raddoppio del suo volume.
Stendere l'impasto in una sfoglia molto sottile e tagliare a quadratini di circa 3 centimetri. Spolverizzare un po' di sale fino e disporre su uno stampo unto con un po' di olio e.v.o.. Cuocere a 200' gradi in forno statico per circa 8-10 minuti. Gli ultimi due minuti usare il grill.
Tips.
- As always, balance your quantities for dry and wet ingredients according to the consistency of your natural leaven. The only way to achieve it is to try again and again and keep your yeast "healthy and strong"! :-)
- As always (second), salt is an optional ingredient, especially if you are used to give flavour to your doughs playing with flours. In the original recipe it was told to use cooking salt to dust over crackers, I tried all the combinations: without salt and both cooking and table salt, and my personal choice was to the table salt version.
- You can turn on the fan of the oven for baking. If so, please keep in mind that your crackers will cook much quicker and be careful not to burn them! To me, static oven is better: you can swap easily two trays to bake, at the sme time you have one tray in the oven and the other in preparation for new crackers to bake. Organized and quick!
Suggerimenti.
- Come sempre, le dosi degli ingredienti dipendono molto dalla consistenza e dalla forza del vostro lievito. L'unico modo per capire le quantità giuste sono è sperimentare un po' e mantenere il nostro lievito attivo! :-)
- Come sempre (bis), siete liberi di ritenere il sale un optional, specialmente se usate farine saporite. La ricetta originale prevedeva il sale grosso da spolverare sopra ai cracker: io ho provato senza, con sale grosso e sale fino, e personalmente ho preferito quest'ultimo.
- Potete scegliere la cottura con forno ventilato. Attenzione però perchè si andranno a dimezzare i tmepi e si potrebbe rischiare di bruciare qualche infornata! Usando il forno statico, avete tutto il tempo per preparare l'infornata successiva e organizzare la cottura come una catena di montaggio perfetta!
So, give them a try! It's been a real success when I made them! :-)
Vi consiglio davvero di provarli! In casa mia sono stati davvero un successo! :-)


0 commenti:
Posta un commento